Treating Symptoms is one of the first missions of the new DLC, in which you will have to complete Mr. Hands’ errand and get to Milko Alexis to save him. It will be difficult, as you will meet many enemies, from the usual Voodoo Boys to high-tech robots that are not easy to defeat. Next, we’ll show you how to complete Treating Symptoms in Cyberpunk 2077: Phantom Liberty. Luckily, we know a few tricks you can use to complete the mission faster and avoid long battles. By following our tips and tricks, you can easily complete this quest and collect your rewards.
Cyberpunk 2077: Phantom Liberty – How To Complete Treating Symptoms

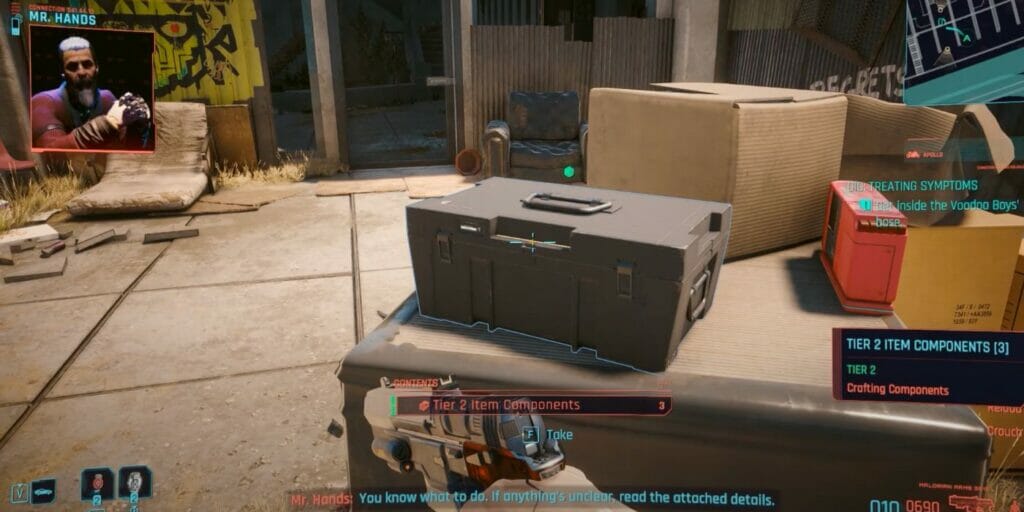
So, the first thing to start with is getting to the right location. After calling Mr. Hands, you will get several missions, and Treating Symptoms is one of them. When you open the city map, you’ll notice a green marker pointing to the appropriate location, so head there. Your destination is the Voodoo Boys base and the fastest way to get there is to use the Luxor High Wellness Spa fast travel point.
Once you’re there, head to the building and be ready for the first enemy attacks as soon as you enter. Luckily, the enemies are not difficult, and you’ll only need a few shots to defeat them. The building is small, so you’ll quickly take care of all the NPCs waiting for you there.
Talking to a Supplier and Fighting With the Boss

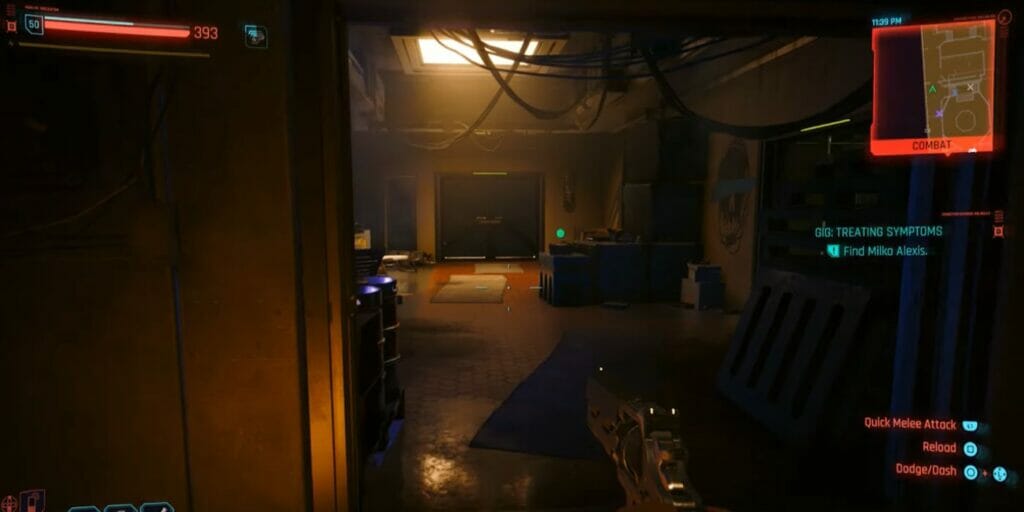
So, when you’ve dealt with all the enemies, you’ll reach the double doors (see the screenshot above). Don’t rush to go in there. Instead, explore the building to make your job easier. If you turn to the right in the room in front of the door we mentioned above, you’ll find the Supplier. This is essential because, with his help, you can make the battle against the boss waiting for you behind the door much easier. Once you find the Supplier, talk to him. No matter how the dialog progresses, you’ll need to wait until you have the following choice:
- $500: I pay well for good info.
- Punch: Better start talking.
Regardless of which option you choose, the Supplier will help you with the robots that lie ahead. When you are done with him, go back and enter the double doors.
When you go inside, you’ll find yourself in a server room, and the first thing you’ll see is a stand with a robot hanging on it. This is Robot R MK.2 and as soon as you get closer, it will activate and jump to the ground to start a fight with you. It has a lot of health, so you will need to come up with a good strategy to fight against it. Luckily, the Supplier told you how to make the fight easier and activated the servers inside the room. Thus, you will need to take advantage of this and shoot at the servers when the robot is near them. Because of this, you can shock your enemies with electricity, which will stun them for a few seconds and cause damage.
Also, don’t forget about the other robots that will come out of their hiding places shortly after the battle starts. We recommend that you destroy all the weaker enemies first, and then concentrate on Robot R MK.2. If you follow our recommendations, you can defeat it in a few minutes. Once you’ve done that, don’t forget to loot the boss to get the powerful Ogou Iconic Smart Pistol. Once you’ve done all that, head east to descend the stairs and reach the mission’s key point.
Kill or Save Milko Alexis

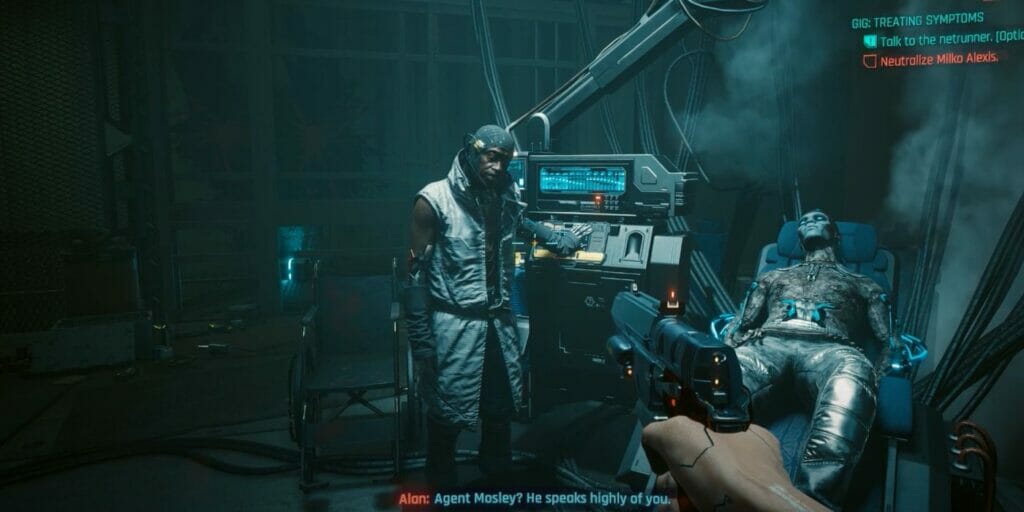
So when you get to the operating room, you’ll see Alan Noel and Milko Alexis lying unconscious on a chair. After a short dialog with Alan, you will have to choose whether to kill or let Milko live. So, let’s see what happens in both cases:
- Kill: If you decide to kill Milko, you will be immediately attacked by Alan. You’ll have to kill them both, but when you get out, the mission is complete and you’ll get the rewards. In addition, you can also loot the corpses of Milko and Alan to get the Unity pistol, Kanabo melee weapon, Alan’s Keycard, and Alan Noel’s Dog Tag from them.
- Leave alive: By choosing this option, you can also complete the mission and leave, but without the victims and their loot. Instead, Mr. Hands will call you, and thank you for your decision. The fact is that Indira Barazza, the client, is now under Netwatch protection and no hacker can break in. Thus, Mr. Hands’ reputation will increase in the eyes of his corporate employers, and you will complete the mission without casualties.
No matter which option you choose, the last thing you need to do is get out of the building. Simply use the pipe at the end of the basement to avoid going back through the entire building. That’s it, you’ve completed the task and finished the mission.
Related:
Top 5 Best Weapons in Cyberpunk 2077 (2.0)
Hopefully, now you know how to complete Treating Symptoms in Cyberpunk 2077: Phantom Liberty. Good luck!
Cyberpunk 2077 is available on PC, PlayStation, and Xbox.


